Loading...
Space and shape
Quiz by Thembani Peggy
Customize this quiz to suit your class
Instantly translate to 100+ languages
Tag the questions with any skills you have. Your dashboard will track each student's mastery of each skill.
Give this quiz to my class
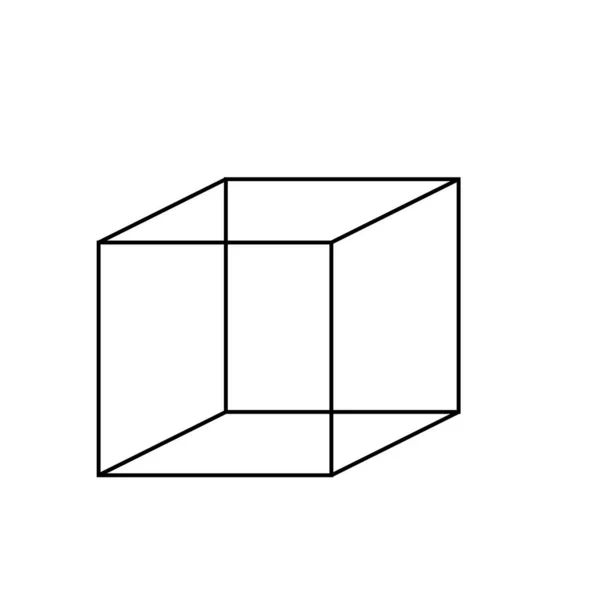
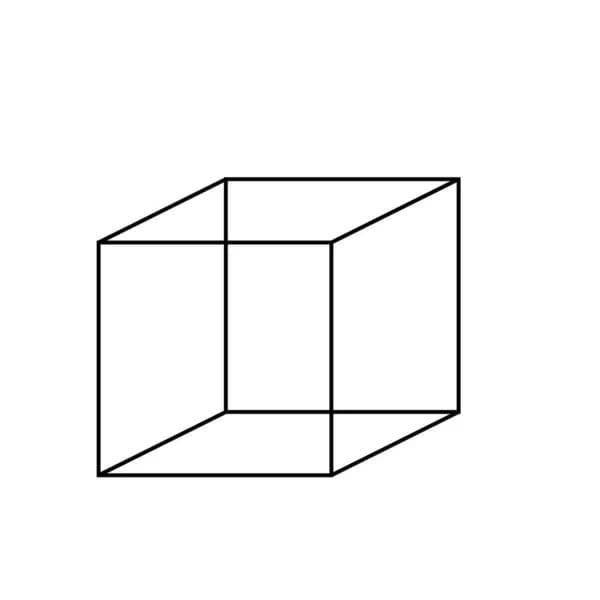
how many faces does a cube have?
6
4
2
8
how many faces does a cube have?
which 3D shape is similar to a circle?
how many squares make a cube

what do we call the shape that looks like the image above
true or false, the image above is a rectangle